# Loading Products
To load your products into QuickCover®, you must sync them from your e-commerce store.
To learn how to sync products, read the onboarding and user guides for:
# Viewing Product Sync Status
To view the status of a product sync job:
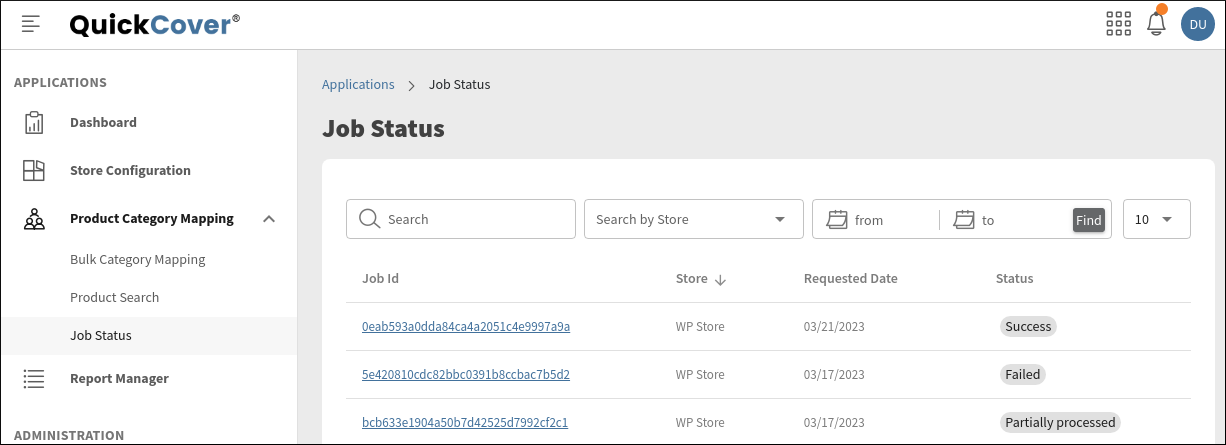
- In the left-side navigation panel, go to Applications > Product Category Mapping > Job Status.
- Locate the job in the list. The Status column on the right shows
- 'Success'
- 'Failed'
- 'Partially processed' for batch jobs where some products failed to sync.
# Viewing sync errors
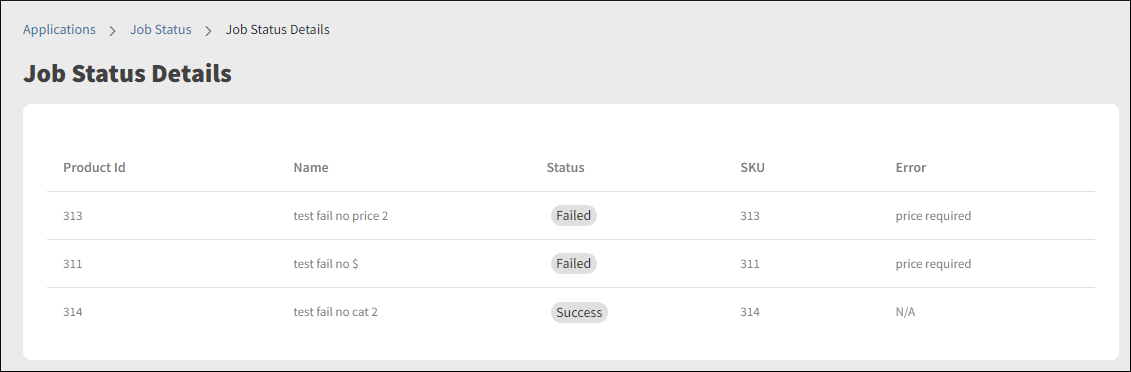
On the Job Status page, click the link in the Job ID column. The Job Status Details page opens. The Error column on the right shows the error message for the products that failed to sync.
# Searching for a sync job
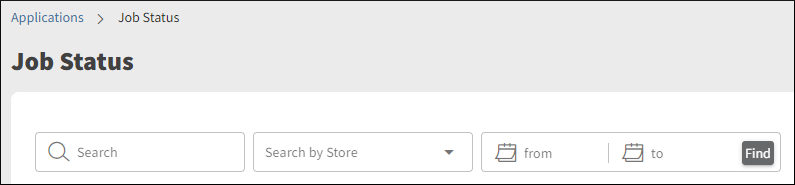
On the Job Status page, select a store in the Search by Store drop-down, or type a keyword in the Search box.
To search by date:
- Click the calendar icons in the From and To date fields.
- Select the to and from dates.
- Click Find.
# Viewing Your Products
To see a complete list of the products you have synced from your e-commerce store:
- Log in to your QuickCover account.
- In the left-side navigation panel, go to Applications > Product Category Mapping > Product Search.
# To filter the product list
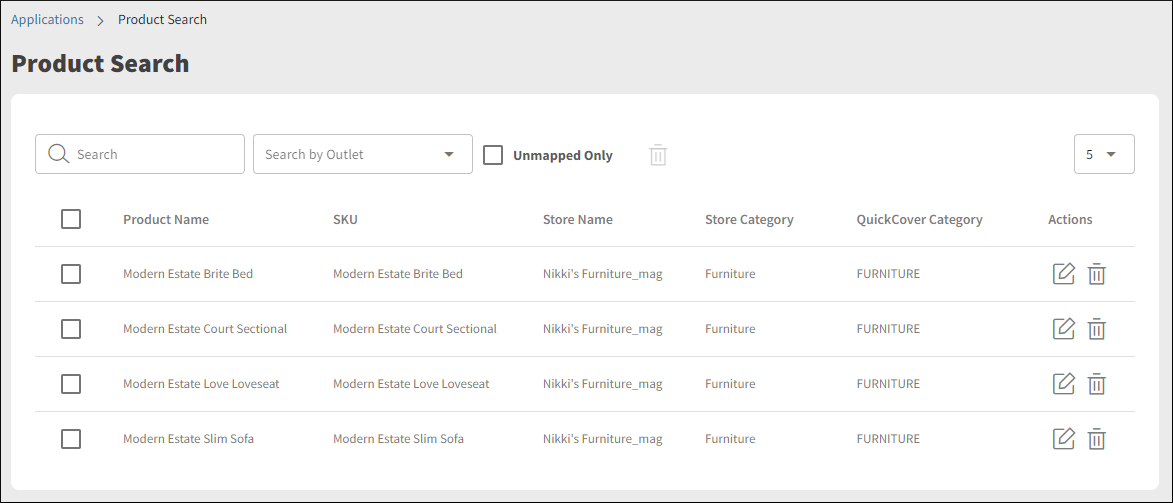
To filter by keyword, start tying a keyword in the Search box. The list is filtered automatically.
To filter by store, select a store in the drop-down box.
To see the products that have not been mapped to a category, check Unmapped Only.
# Assigning Product Category
To update the category mapping for a single product:
- In the left-side navigation panel, go to Applications > Product Category Mapping > Product Search.
- Find the product in the list.
- In the Actions column on the right, click
 . The Edit Product form opens.
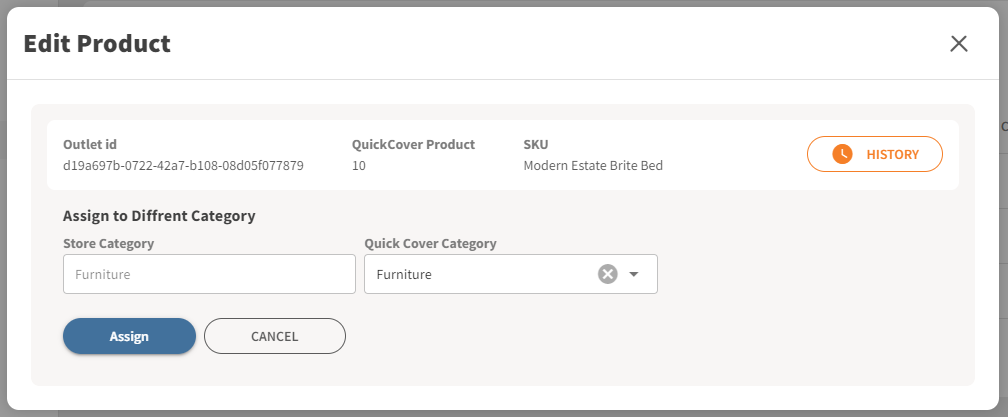
- Select the desired QuickCover category.
- Click
 .
.
To learn how to remap an entire category, read Mapping Categories.
# Deleting Products
In the left-side navigation panel, go to Applications > Product Category Mapping > Product Search.
# To delete a product:
- Find the product in the list.
- In the Actions column on the right, click
 .
. - Click OK to confirm.
# To delete several products at once:
- In the left column, select the check boxes of the products you need to delete.
- At the top of the page, click .
- Click OK to confirm.
To select all products on the page, select the check box in the table header.