# Overview
With the QuickCover® plugin, you can sell the After Product Protection plan in your WooCommerce store.
This document provides an overview of how to get started.
Compatibility Requirements
WordPress version 5.6 or higher, PHP version 7.2 or higher
# Step 1. Create a QuickCover® Account
Before using the After Product Protection Plan plugin on WooCommerce, you must take a few steps to prepare your QuickCover® account if you haven't done so already.
- Create a QuickCover® account at http://signup.quickcover.me/join/afterinc (opens new window). For detailed instructions, read Account Signup. There is no cost for creating an account.
- Sign in to your QuickCover account. For details, read Account Sign-In.
# Step 2. Configure Your QuickCover Account
Sign in to your QuickCover® account (opens new window) for this step.
# Provide billing information
Add a billing address and add a payment method. For more details, read Managing Billing.
# Create a QuickCover store
Add a store and generate the API Key and Store ID. You will need to save these in your plugin settings in WooCommerce. For detailed instructions, read Creating a Store.
# Step 3. Install the Plugin on WooCommerce
# Here are two ways you can find the plugin:
- Search the WordPress Plugin Directory:
- Go to the WordPress Plugin Directory (opens new window).
- Search for 'After Product Protection Plan' or 'Afterinc'.
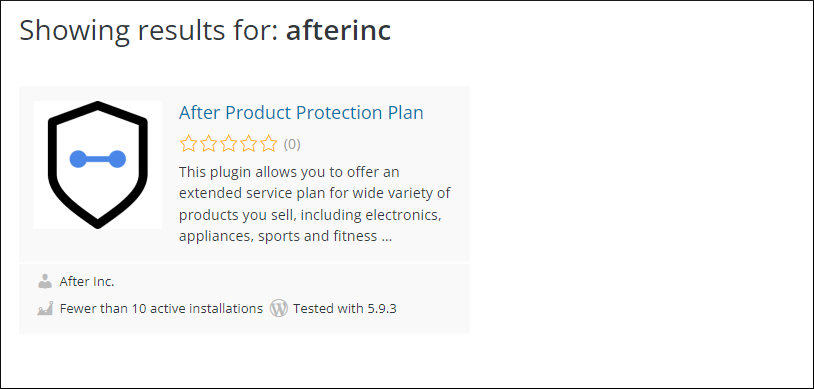
- Click the plugin in the search results.
- Click this link to go directly to the After Product Protection Plan plugin page (opens new window).
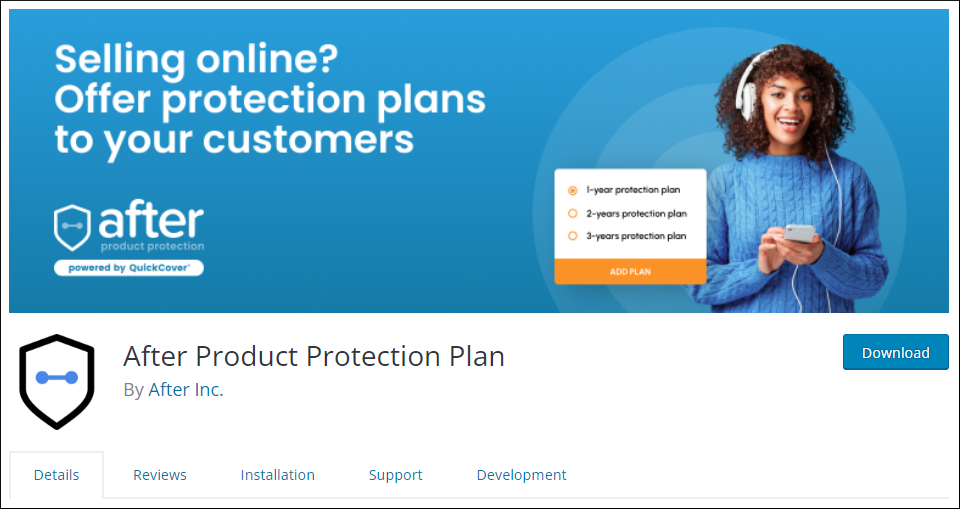
# To install the plugin:
- Click Download. A zip file downloads.
- In WooCommerce, go to Plugins > Add New.
- At the top of the page, click Upload Plugin.
- Click Choose File and select the AfterInc zip file you downloaded.
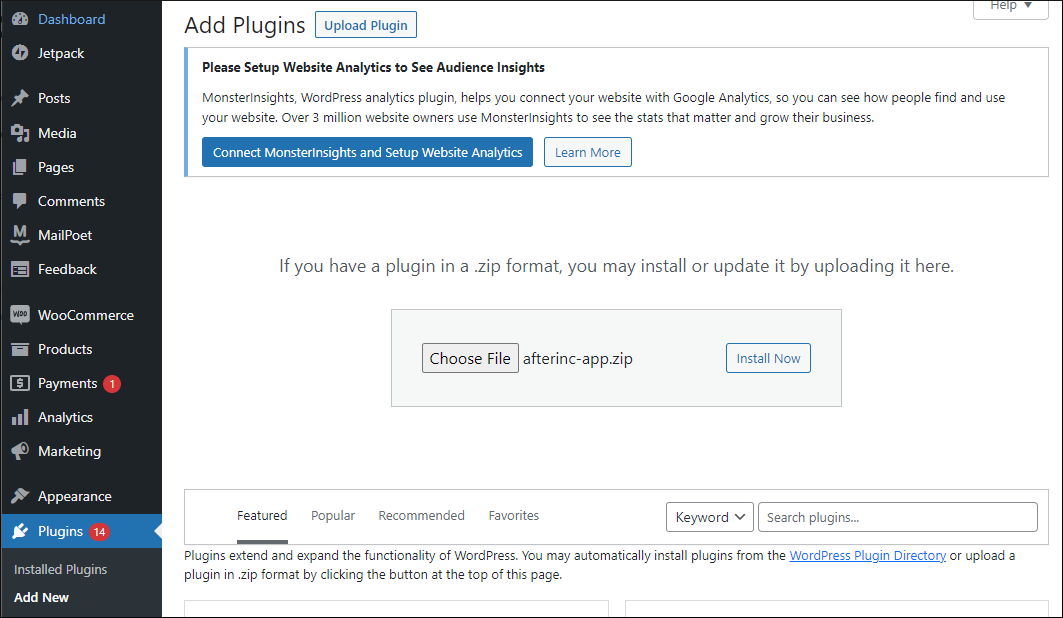
- Click Install Now. Wait for the installation to complete.
- Click Activate Plugin.
For more information on installing plugins, please read this WooCommerce Support Page (opens new window).
# Step 4: Enable the Plugin
Once the plugin has been installed, you will see the After Plans item in the WooCommerce navigation menu.
To enable the plugin:
- In the navigation menu, click After Plans > Settings. The configuration page will open.
- In the General Settings section, select Enable in the QuickCover® Plugin drop-down.

- Scroll down and click Save Configuration in the bottom-right corner of the page.
Important
Don't change any other settings until the initial bulk sync and mapping of your products have been completed successfully.
To learn more about the other settings, read Configuring the Plugin
# Step 5: Setup the Initial Bulk Sync
# Configure the products
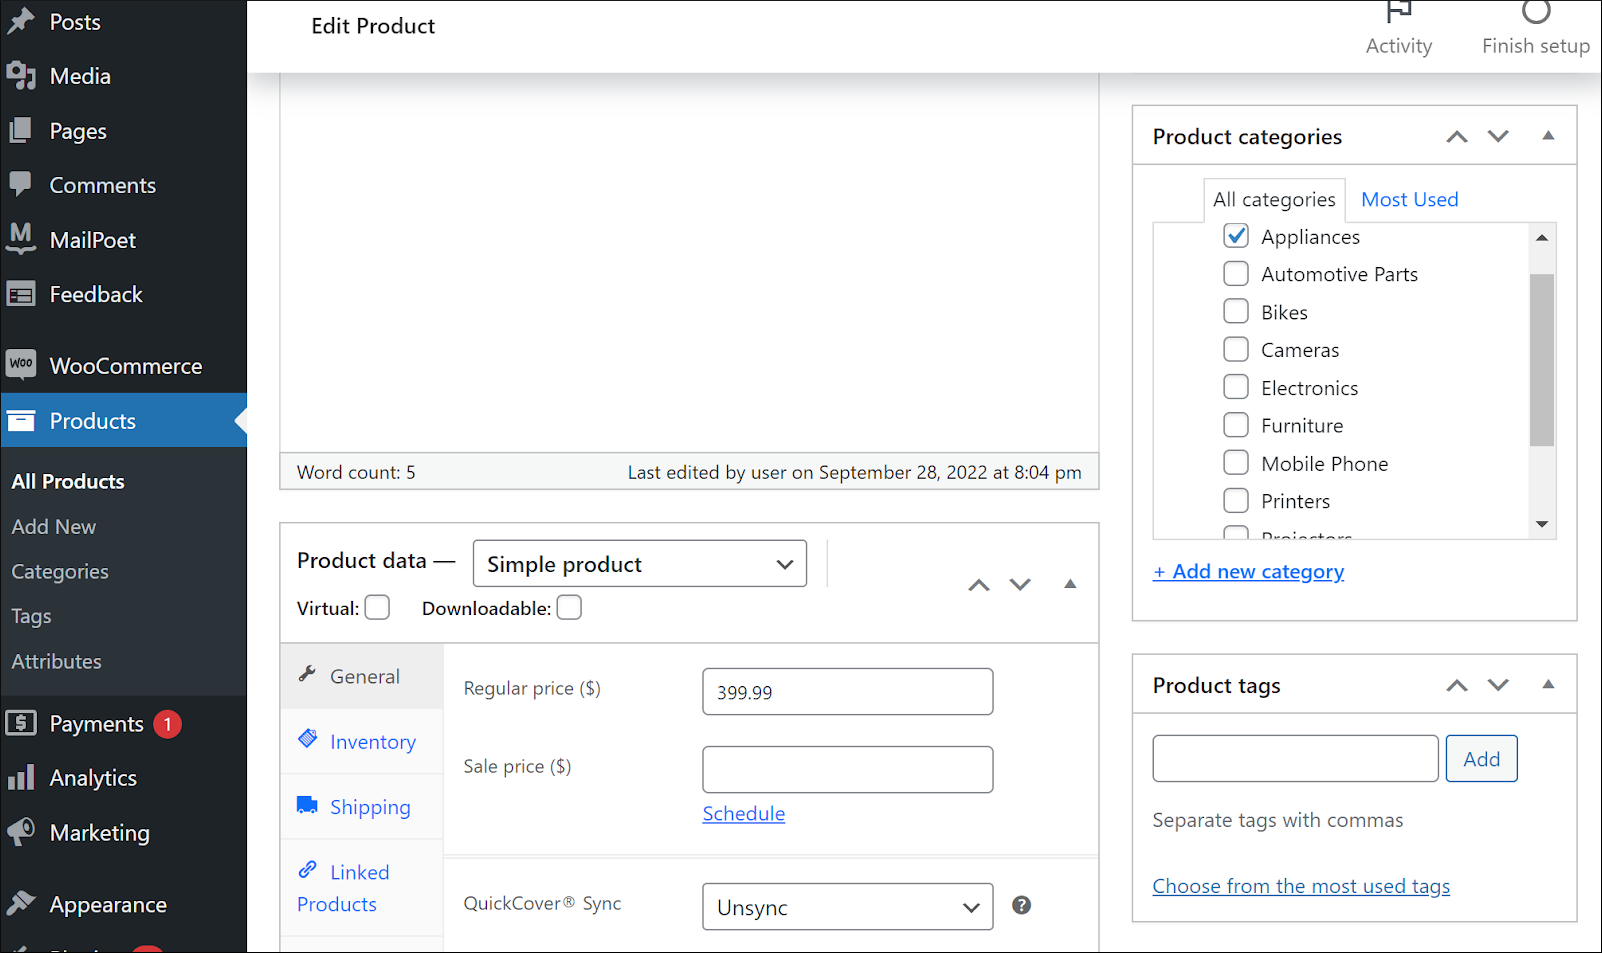
- In WooCommerce left-side navigation menu, go to Products > All Products.
- Ensure that the products you need to sync are configured with the Product Name, Product Description, Product Category, and Product Price. Product SKU is optional. Please see the screenshots below.
# Product Name

# Product Description

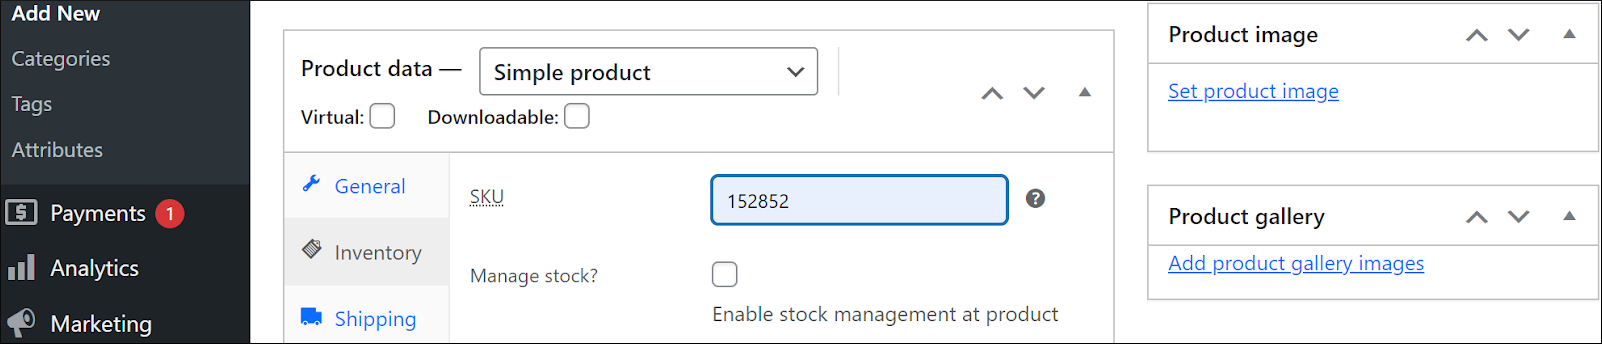
# Product SKU
# Product Category and Price
# Enable products to sync
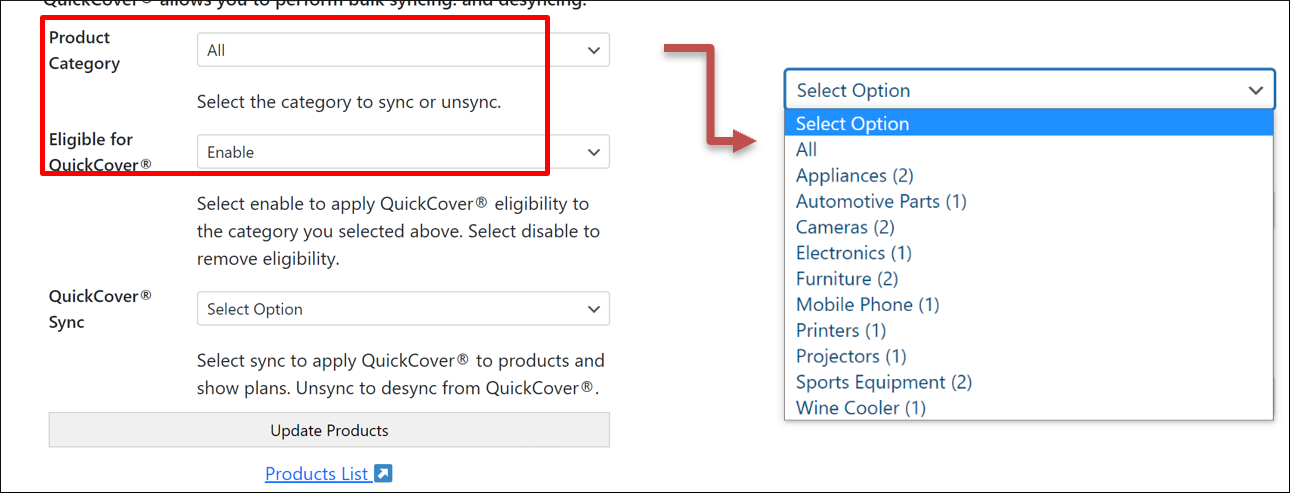
- In the WooCommerce left-side navigation menu, go to After Plans > Bulk Product Update.
- In the Product Category drop-down, select the product category you need to sync. To sync all products, select 'All'.
- In the Eligible for QuickCover® drop-down, select Enable.
- Click Update Products.
Note
You may select all categories or one. To optimize performance, we recommend selecting no more than 5,000 items at a time. If you select one category, you may repeat the process for other categories. Beware that if your store carries a wide variety of products and you select 'All', you may have a lot of products that are not eligible for the plans.
# Step 6: Store Authentication
Return to the plugin settings page to complete the Authentication section by entering the API Key and Store ID generated in Step 2 above from your QuickCover® Account.
- In the WooCommerce navigation menu, click After Plans > Settings.
- In a separate window or browser tab, log in to your QuickCover® account (opens new window).
- In the left-side navigation panel of QuickCover, click Applications > Store Configuration.

- Copy the Store ID and API Key from the store record.
- Paste the values into the corresponding fields on the WooCommerce plugin settings page.
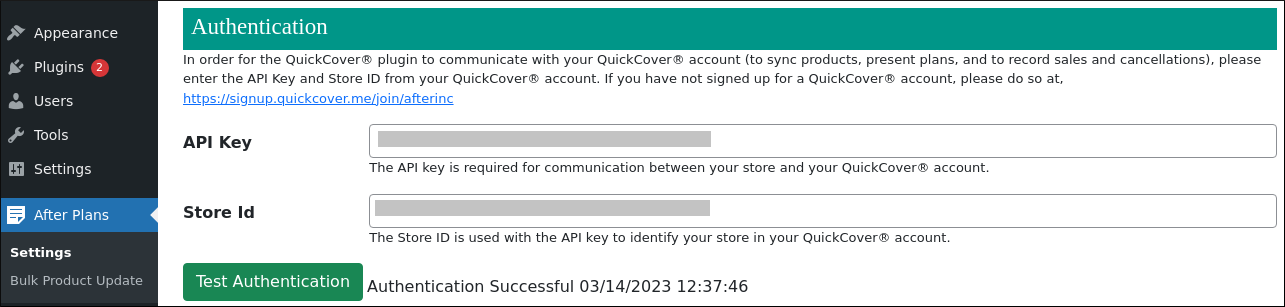
- Optionally, click Test Authentication to confirm the credentials are correct.
- Scroll down and click Save Configuration.
This will allow your WooCommerce store to communicate with QuickCover® APIs to retrieve pricing and sell After Product Protection plans.
# Step 7: Bulk Product Sync
Now you can bulk sync your product catalog with your QuickCover® account.
- In the WooCommerce plugin settings page, go to the Sync Products section.
- Select the desired batch size. For details, read What is Batch Size?
- Click Sync Products.
- When the sync process completes, click OK in the confirmation pop-up.
Note
For details about sync status, read How do I know the sync was successful?
# Step 8: Product Category Mapping
After syncing your store product catalog, log in to your QuickCover® account (opens new window) and map your product categories to QuickCover® product categories. This will allow QuickCover® to present warranty plan prices in your WooCommerce store.
Read Mapping Categories to learn more.
Note
If you decide that QuickCover® does not apply to one of your products, you should disable it for eligibility for QuickCover® and change the QuickCover Sync status to 'Not Synced'. Read Removing Products from the Protection Plan for details.
# Step 9. Review
Use the WooComerce Preview store link to review the products enabled and synced to sell the After Product Protection Plans to ensure they present service plan purchase options.
The purchase options and retail prices are shown in your QuickCover® account in Service Plan Pricing.
# Your Questions and Feedback
If you have questions about the After Product Protection Plan plugin or your QuickCover account, please submit them in QuickCover.
- Login to your QuickCover account (opens new window).
- In the lower right corner of the screen, click
 .
.
Customer Success Managers are available to assist you.