# Overview
With the QuickCover® Rescue Data Protection Plan app you can sell the Rescue Data Protection plan in your BigCommerce store.
This document provides an overview of how to get started.
Important
Compatibility Version: This app is optimized for the Cornerstone theme and the Stencil theme engine. Merchants using other themes and engines may face visual issues and require the support of the theme developer.
# Step 1. Create a QuickCover® Account
Before using the Rescue Data Protection Plan app on BigCommerce, you must take a few steps to create and configure your QuickCover® account if you haven't done so already.
- Create a QuickCover® account at https://signup.quickcover.me/join/rescue (opens new window). For detailed instructions, read Account Signup. There is no cost for creating an account.
- Sign in to your QuickCover account. For details, read Account Sign-In.
# Step 2. Configure Your QuickCover Account
Sign in to your QuickCover® account (opens new window) for this step.
# Provide billing information
Add a billing address and add a payment method. For more details, read Managing Billing.
# Create a QuickCover store
Add a store and generate the API Key and Store ID. You will need to save these in your app settings in BigCommerce. For detailed instructions, read Creating a Store.
# Step 3. Install the App on BigCommerce
To find the app:
- From your BigCommerce store, go to the BigCommerce APP Marketplace.
- Search for 'Rescue Data Protection Plan' or click this link (opens new window).
To install the app:
- Click on the app in the search results. The app description page opens.
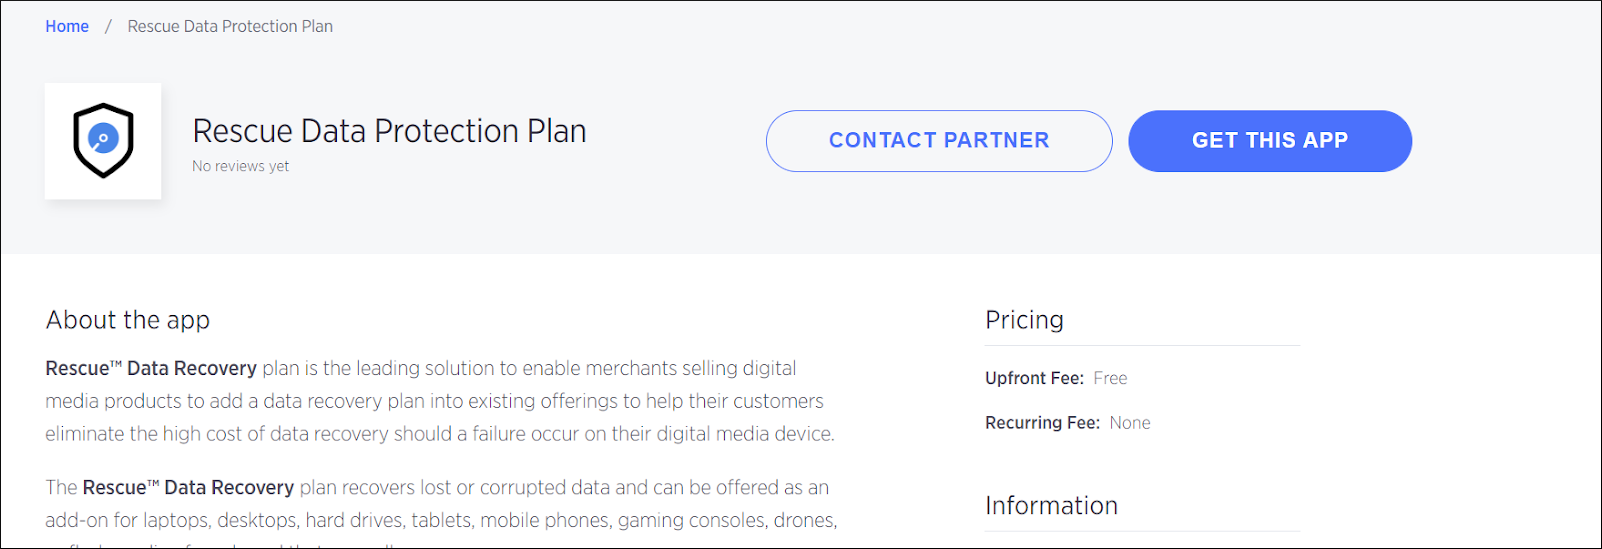
- In the upper-right of the page, click Get This App. You will be redirected to your e-commerce store.
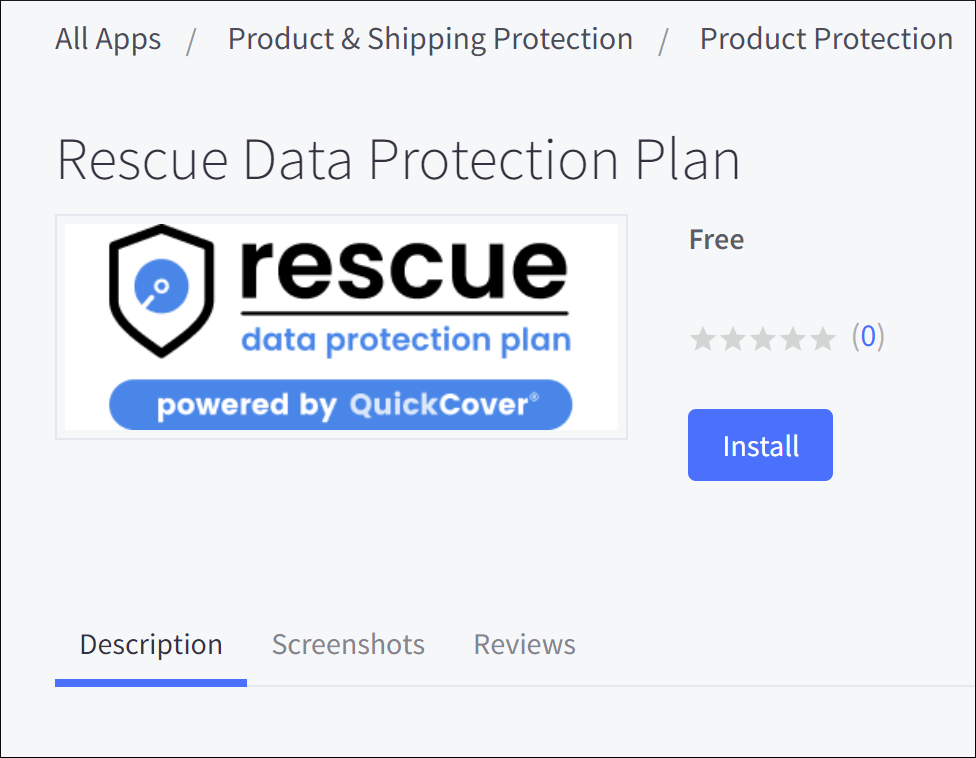
- Click Install.
- To start the installation process, you must read and accept the PCI-DSS compliance.
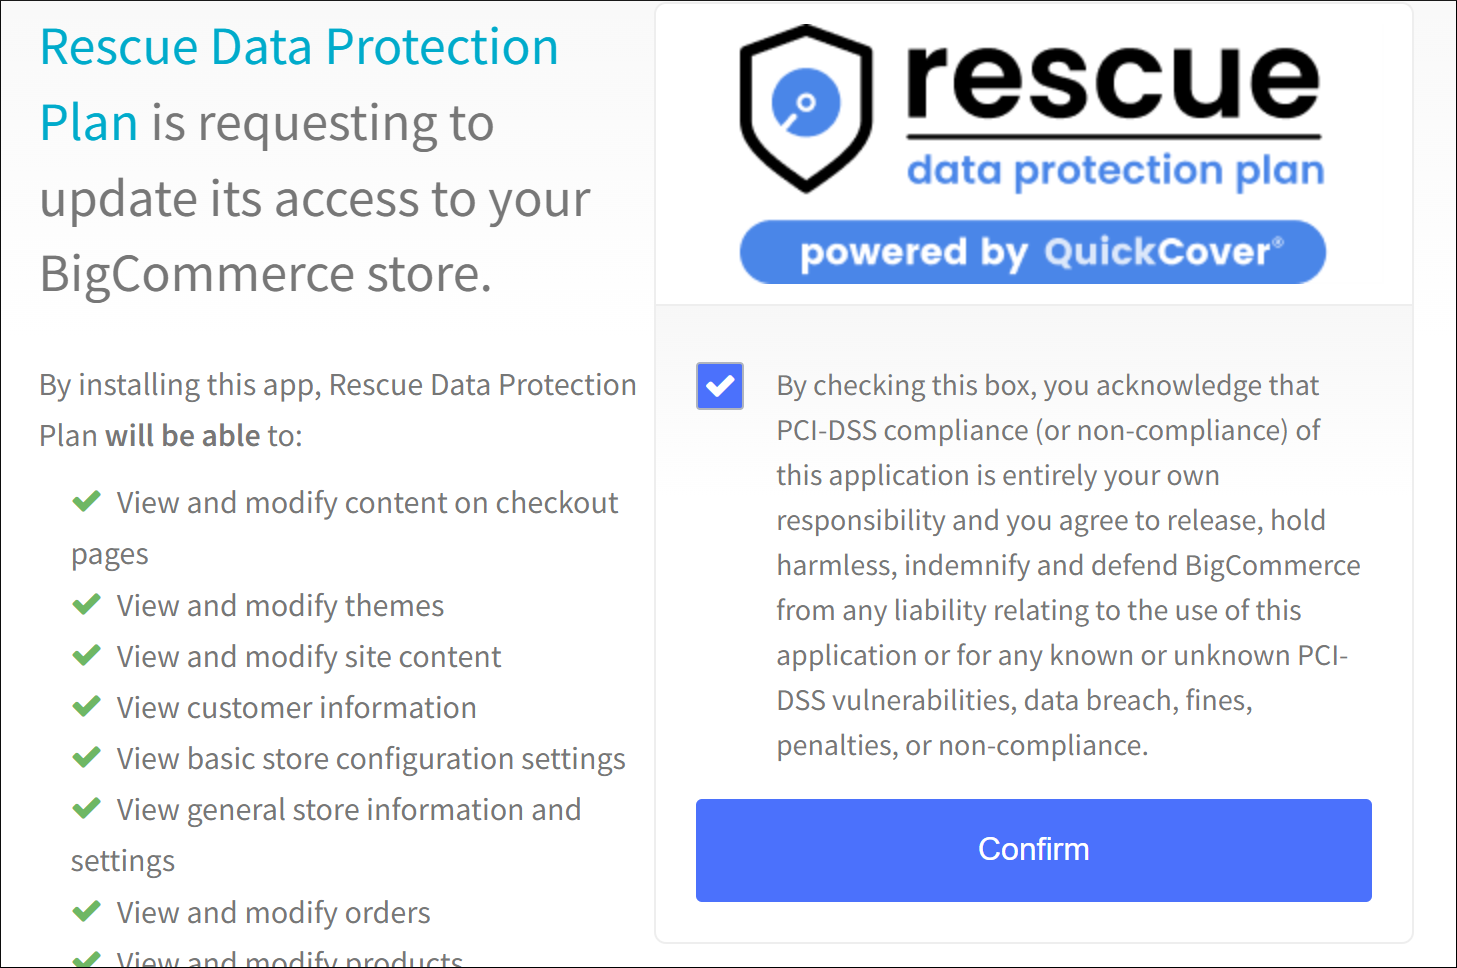
- Click Confirm.
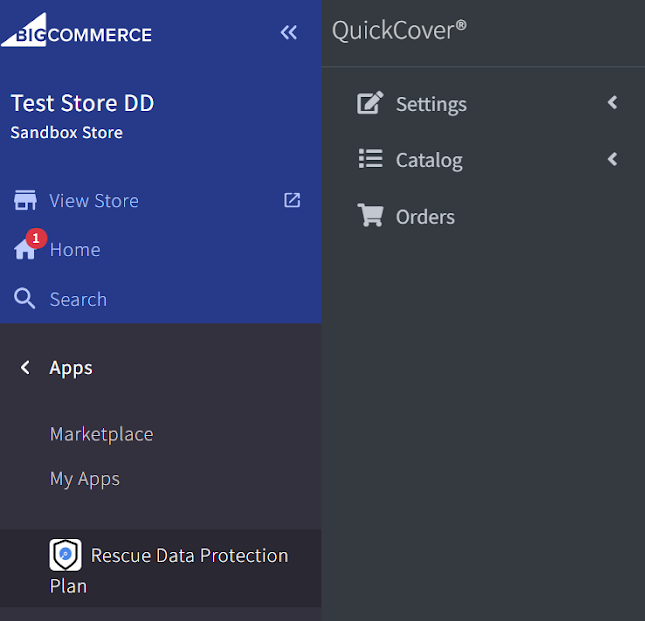
After the installation is complete, you will see Rescue Data Protection Plan under the Apps menu in your BigCommerce account.
# Step 4: Enable the App
After completing the installation, you need to enable the app.
Navigate to the app’s settings in BigCommerce:
- Go to Apps > Rescue Data Protection Plan. The QuickCover menu will appear to the right of the BigCommerce menu.
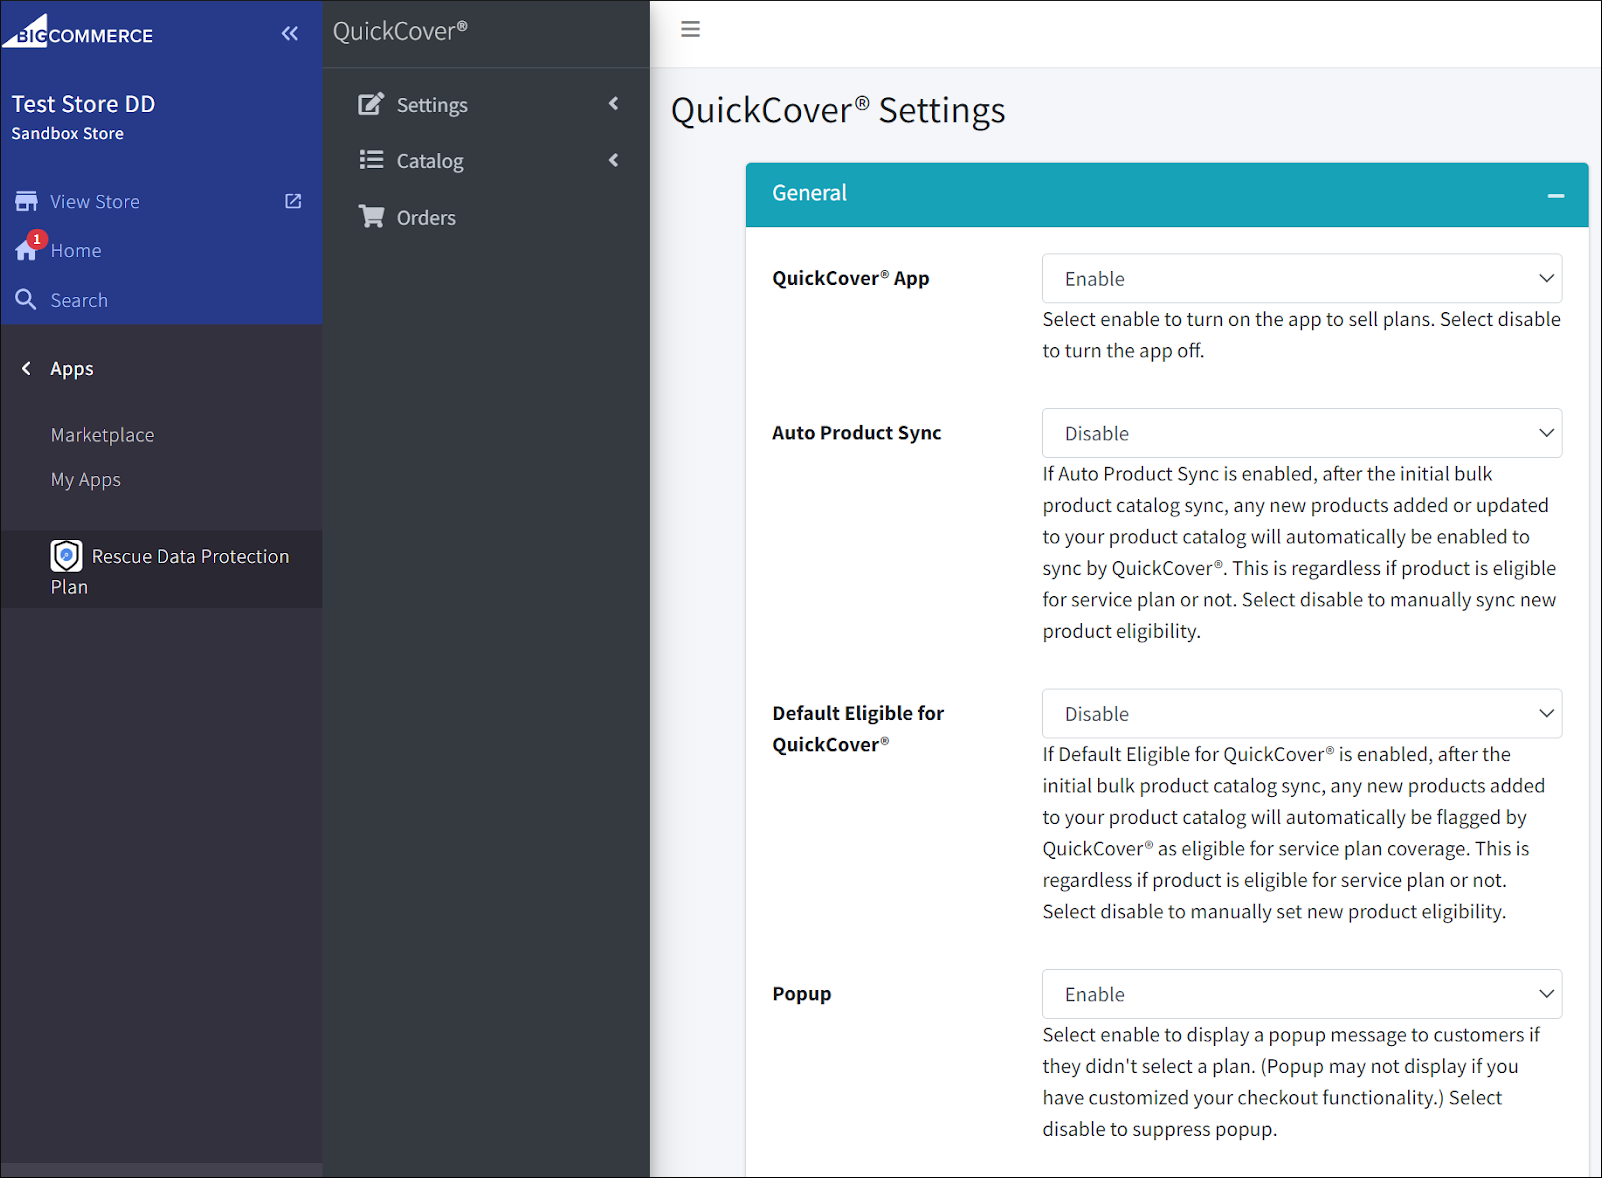
- In the QuickCover® menu, click Settings > QuickCover® Settings.
- In the General section, set QuickCover® App to Enable.
Note
This may already be set to Enable. In addition, by default, Auto Product Sync is set to Disable and Default Eligible for QuickCover® is set to Disable and Popup is set to Enable. Please leave these settings until your product catalog initial bulk sync and mapping has been completed successfully.
Important
Whenever you change the settings, click the Save Configuration button to save your changes.
# Step 5. Initialize Bulk Sync
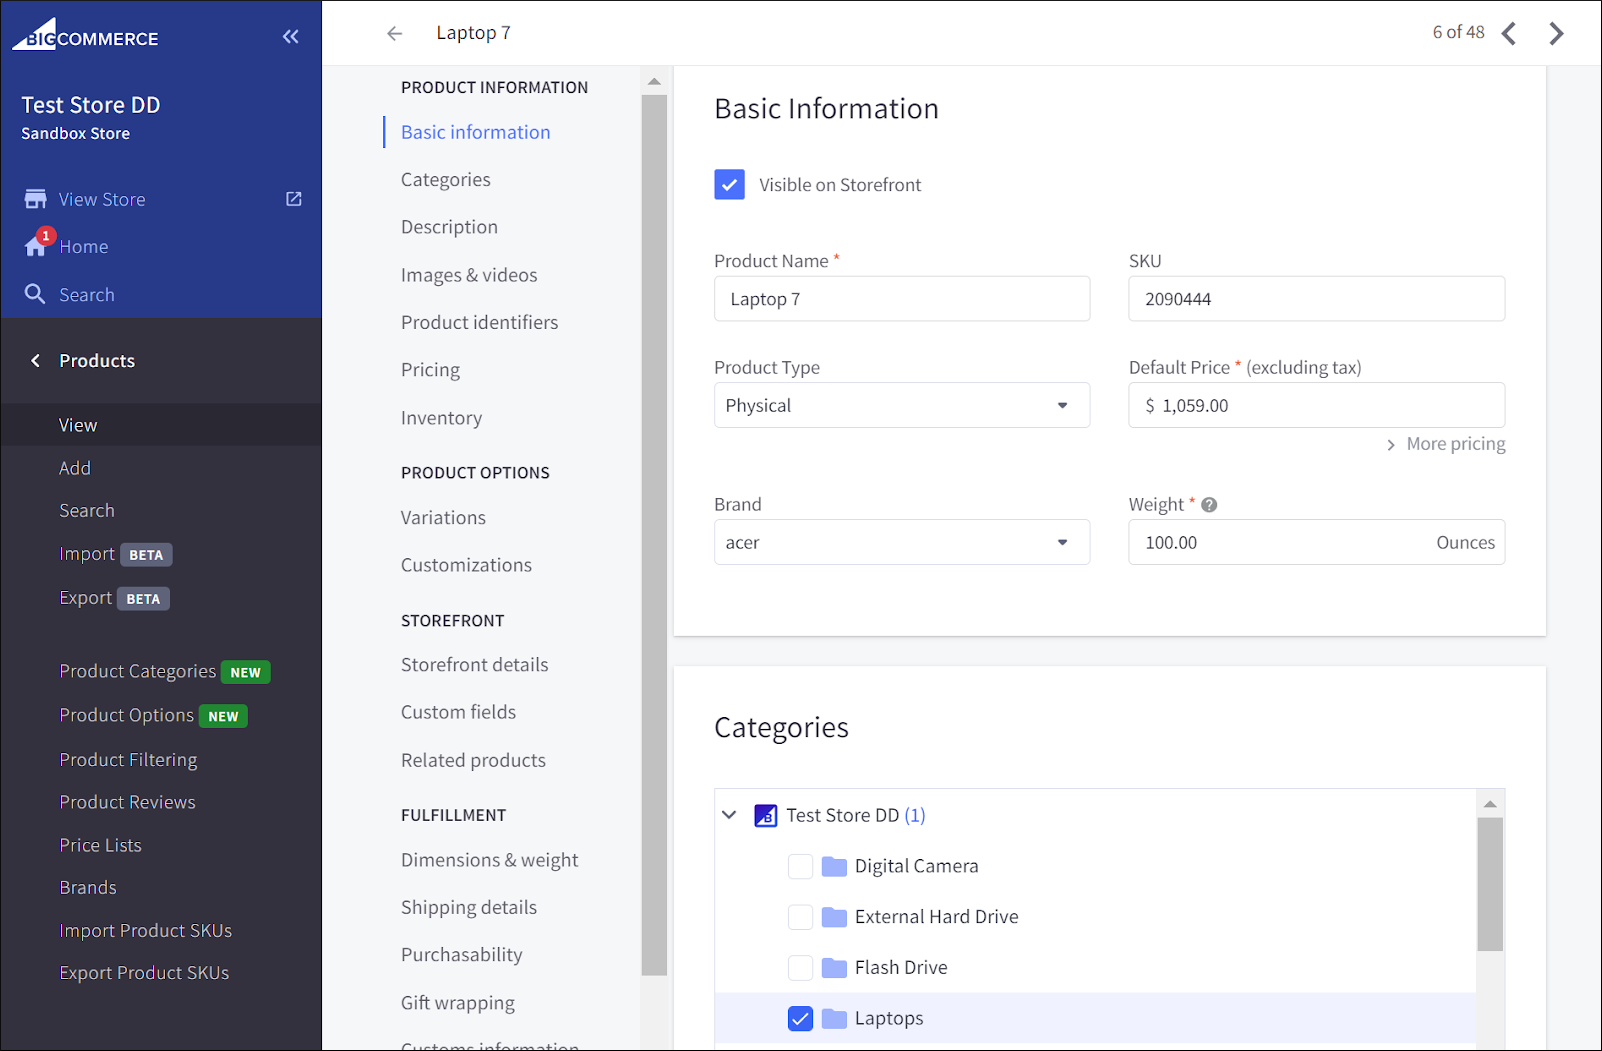
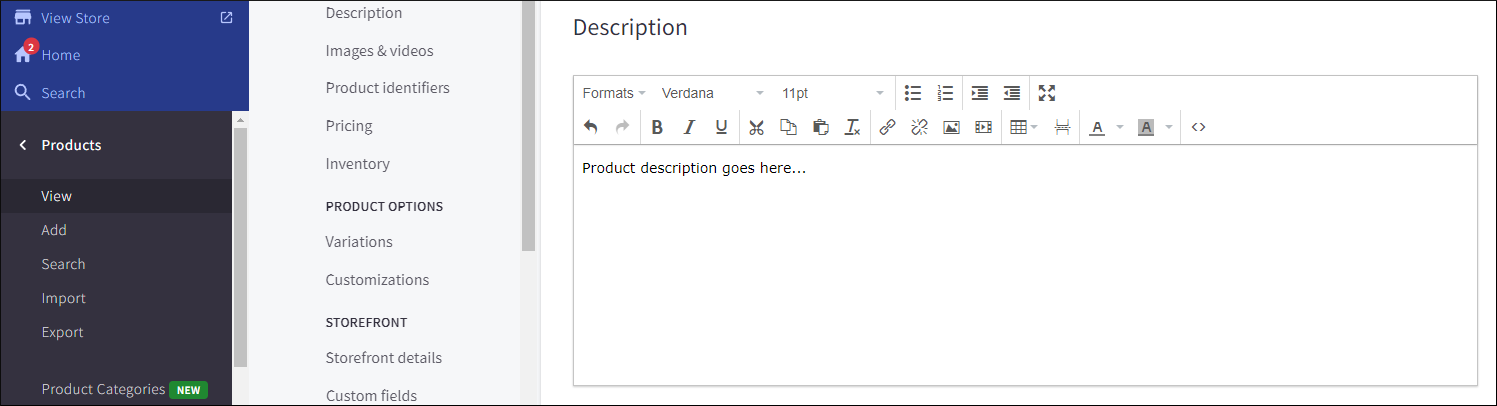
# Prepare your products
You can bulk sync if all your products are configured with the product name, price, and categories.
Description and SKU are optional.
See the screenshots below for examples of where these are found in your product detail page.
# Select products to sync
Once you confirm the above conditions are met, select products to sync:
- Open the app in BigCommerce.
- In the QuickCover® menu, click Catalog > Products.
- You can adjust the number of products shown per page in the Show entries drop-down.
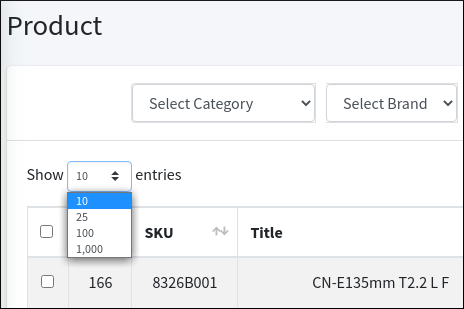
- You can filter the catalog to select the products you want to be synced to QuickCover. For example:
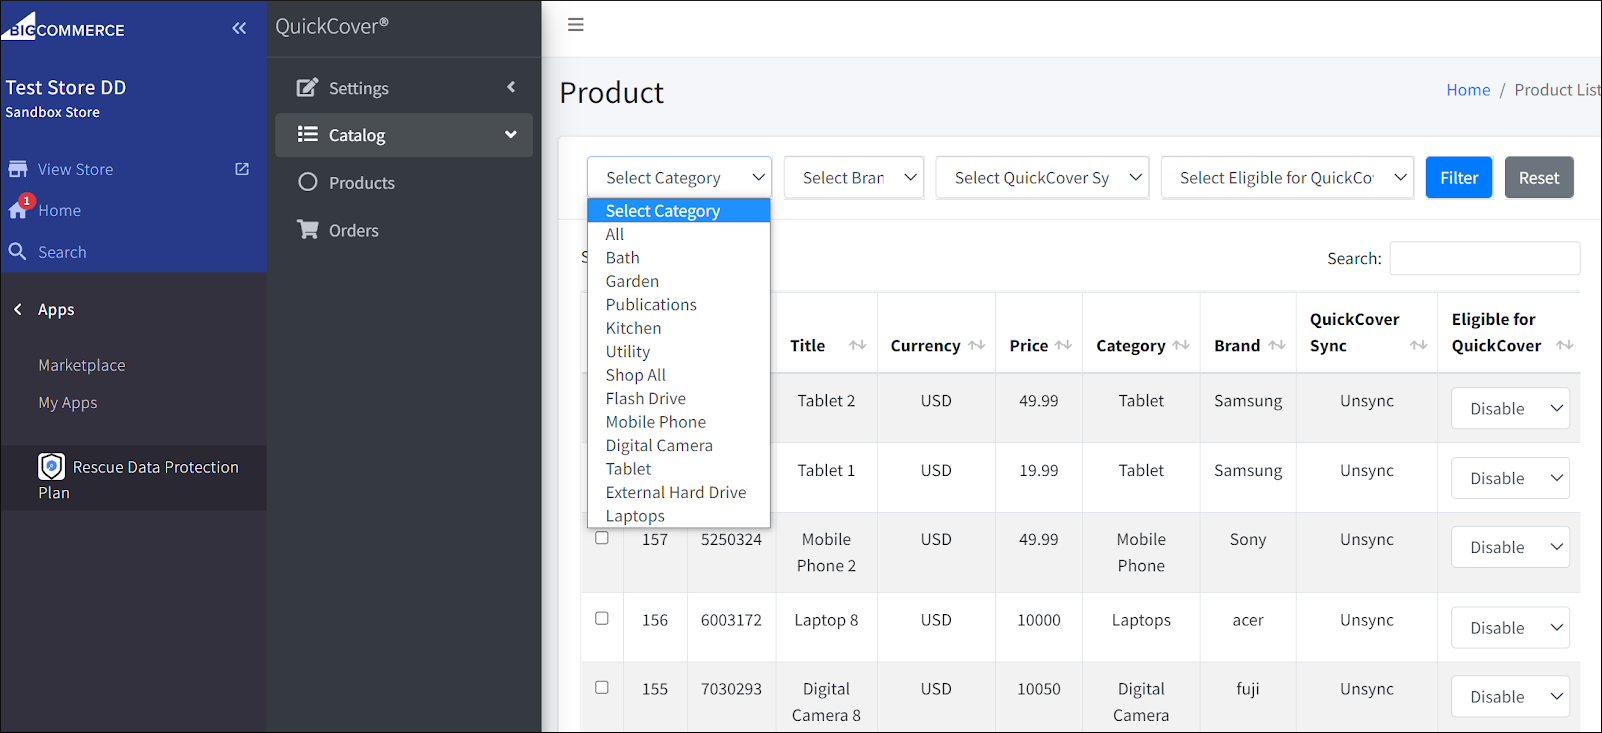
- Use the Select category drop-down to filter by category.
- Use the Select brand drop-down to filter by brand.
- Click Filter.
- After filtering, choose the products by checking the boxes in the left column or the top box to select all products within the filter. Two new drop-down boxes will appear.
- In the Change Eligible for QuickCover drop-down, select Enable.
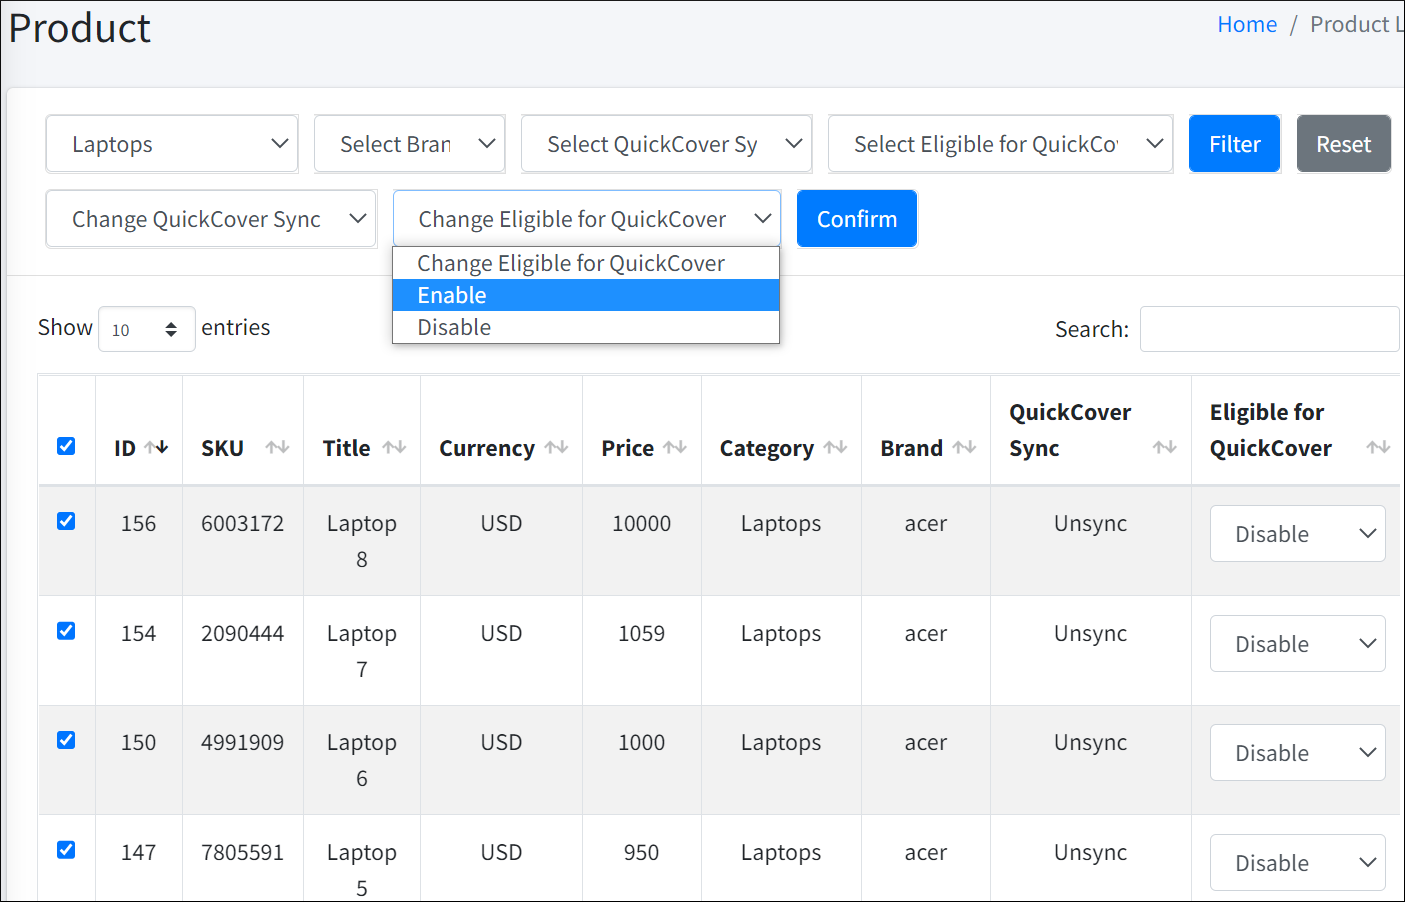
- Click on Confirm.
- Click OK in the following two pop-up windows. The values in the Eligible for QuickCover® column will change to Enable.
Note
To optimize performance, we recommend selecting no more than 5,000 items at one time.
# Step 6. Authenticate Your Store
Now that you are ready to sync your products with QuickCover, you must save the API Key and Store ID in the app configuration.
- In BigCommerce, return to the settings page of the app.
- In a separate window or browser tab, log in to your QuickCover® account (opens new window).
- In the left-side navigation panel of QuickCover, click Applications > Store Configuration.
- Copy the Store ID and API Key from the store record.
- Paste the values into the corresponding fields on the BigCommerce app settings page.
- Click Save Configuration.
This will link your BigCommerce store to your QuickCover® account, allowing your store to communicate with QuickCover® APIs to retrieve pricing and sell Rescue Data Protection plans.
# Step 7. Start Batch Sync
Now that all other settings have been configured, you’re ready to batch-sync your product catalog with your QuickCover account.
- In the QuickCover® Settings page in BigCommerce, scroll down to the Sync Products section.
- Select the desired batch size. For details, read What is Batch Size?
- Click Sync Products.
- Wait for the sync job to finish.
- Click Ok in the notification pop-up.
The batch sync is a one-time process. Subsequent syncs are required if Auto Product Sync and Default Eligible for QuickCover® are set to Disable (so you may choose to reset these to Enable for any new products to sync automatically).
# Step 8. Map Product Categories
In the QuickCover® admin console, map the product categories synced from your store to the corresponding QuickCover® categories.
This will allow QuickCover® to present protection plan prices in your BigCommerce store.
Read Mapping Categories to learn more.
# Step 9. Review
Use the BigCommerce View Store page to review some products that have been Enabled and Synced to sell the plans to ensure they are presenting service plan purchase options. The purchase options and retail prices are shown in your QuickCover® account in Service Plan Pricing.
# Your Questions and Feedback
If you have questions about the Rescue Data Protection Plan App or your QuickCover account, please submit them in QuickCover.
- Login to your QuickCover account (opens new window).
- In the lower right corner of the screen, click
 .
.
Customer Success Managers are available to assist you.
# Using the App
To learn more about managing the app and the product catalog, please see these pages: