# Syncing Products
Note
To optimize performance, we recommend selecting no more than 5,000 products at once.
You have the option to filter products by category and brand before syncing.
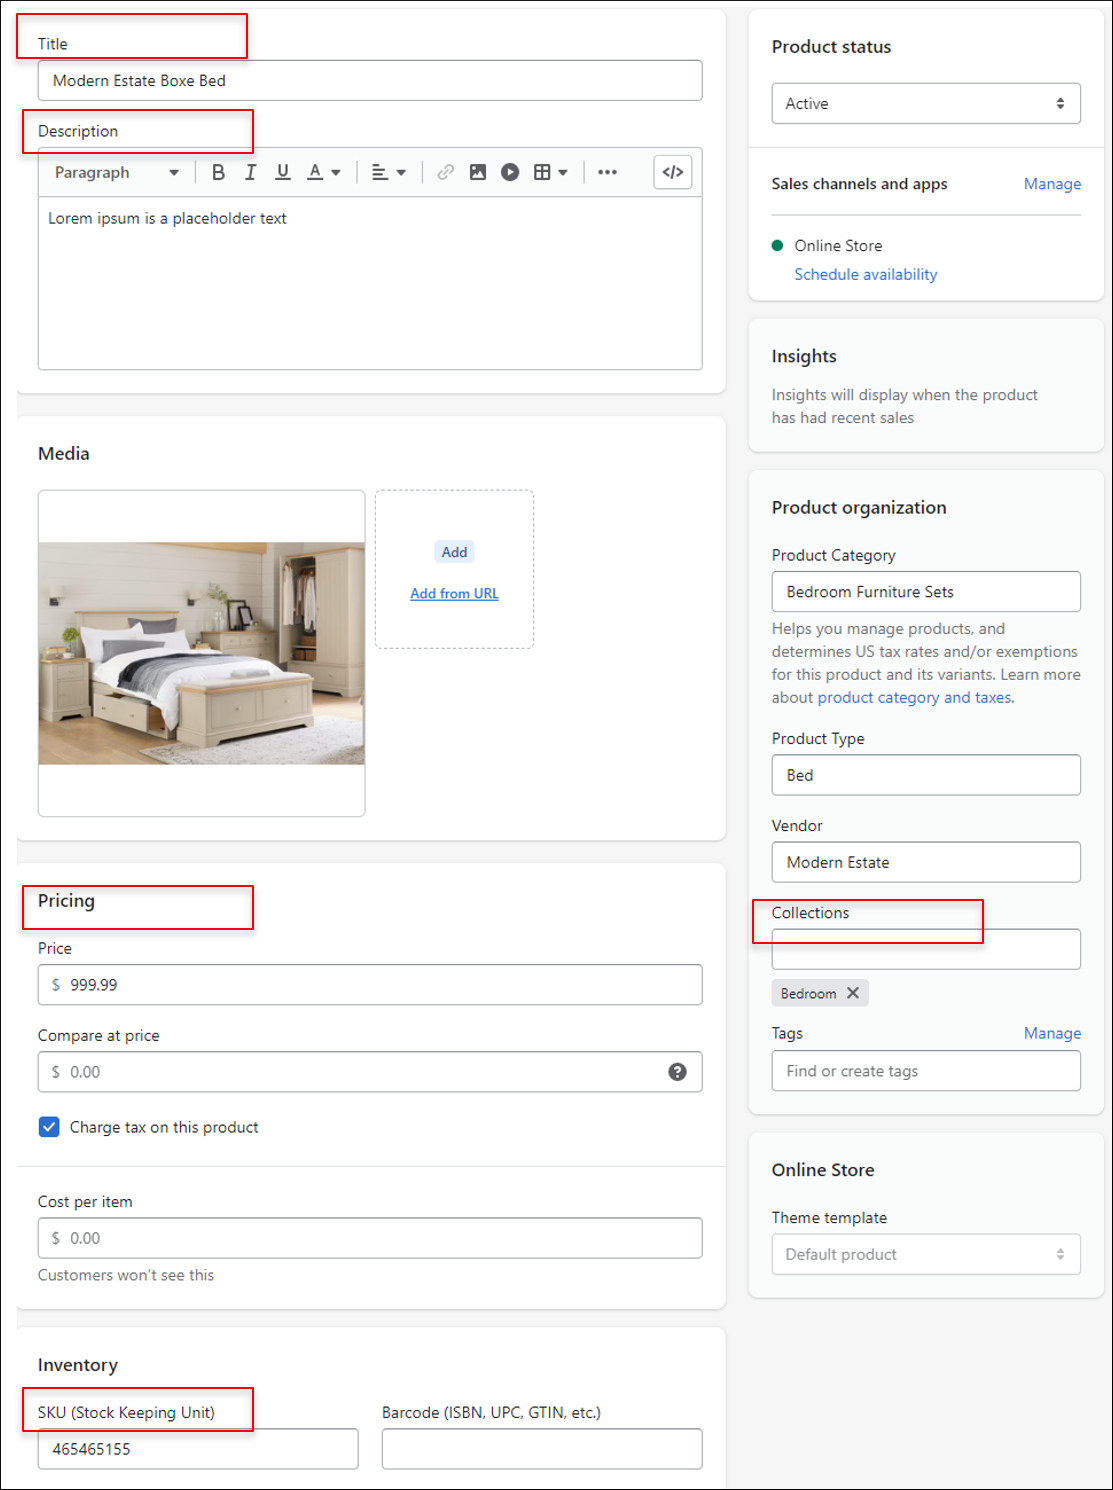
Please check that the products are configured with the Title, Description, Price, and Collection.
# Select products to sync
# To open the product catalog:
- In your Shopify account menu, click After Product Protection Plan under Apps.
- In the QuickCover® menu, click Catalog.
All the products in your catalog are displayed by default.
# To filter the product list:
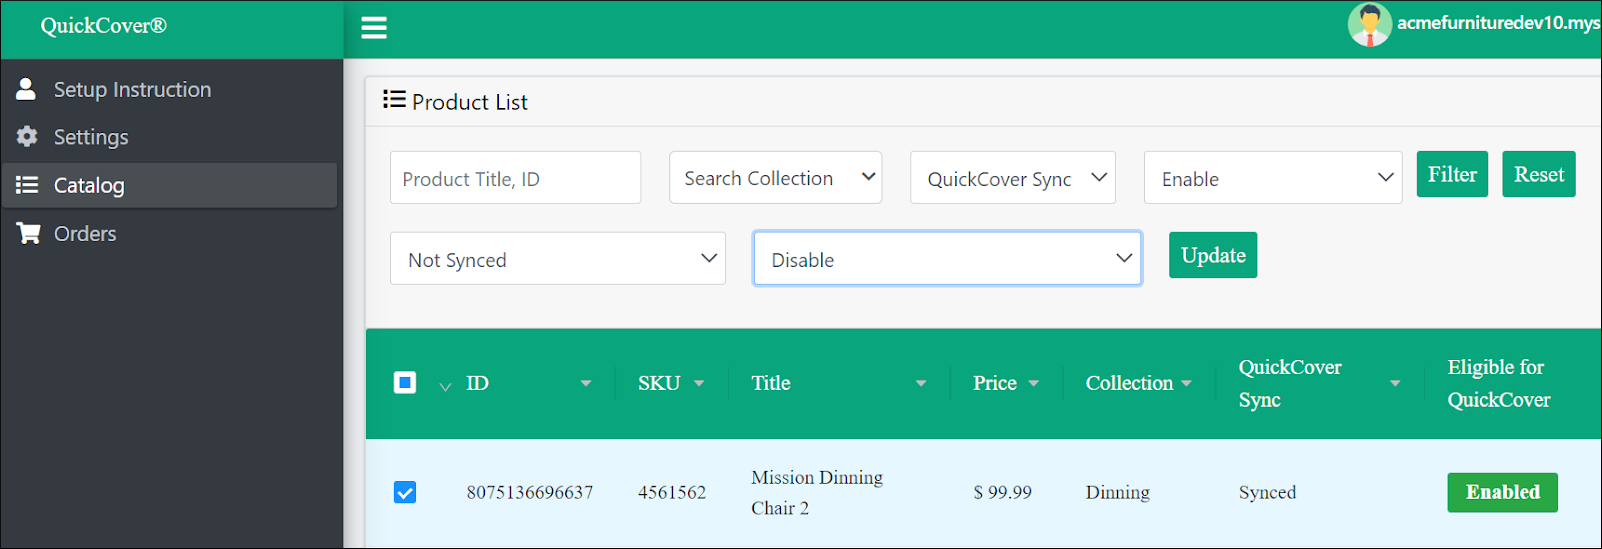
- Use Search Collection, QuickCover Sync, and/or Eligible for QuickCover fields at the top to set the filter.
- Click Filter.
To learn what the QuickCover filter values mean, read What do QuickCover columns mean in the product catalog?
# To prepare products to sync:
- Click the checkboxes in the left column of the product list. To select all products, click the checkbox in the header row. Two drop-downs will appear under the filters.
- In the Change Eligible for QuickCover drop-down, select Enable.
- Click Update. Eligible for QuickCover column will change to 'Enabled'.
# Start product sync
- In the QuickCover® menu, click Settings.
- Scroll down to the Sync Products section.

- Select the desired batch size. For details, read What is Batch Size?
- Click Sync Products. The Sync Products button will show a spinning wheel indicating the sync process is underway.
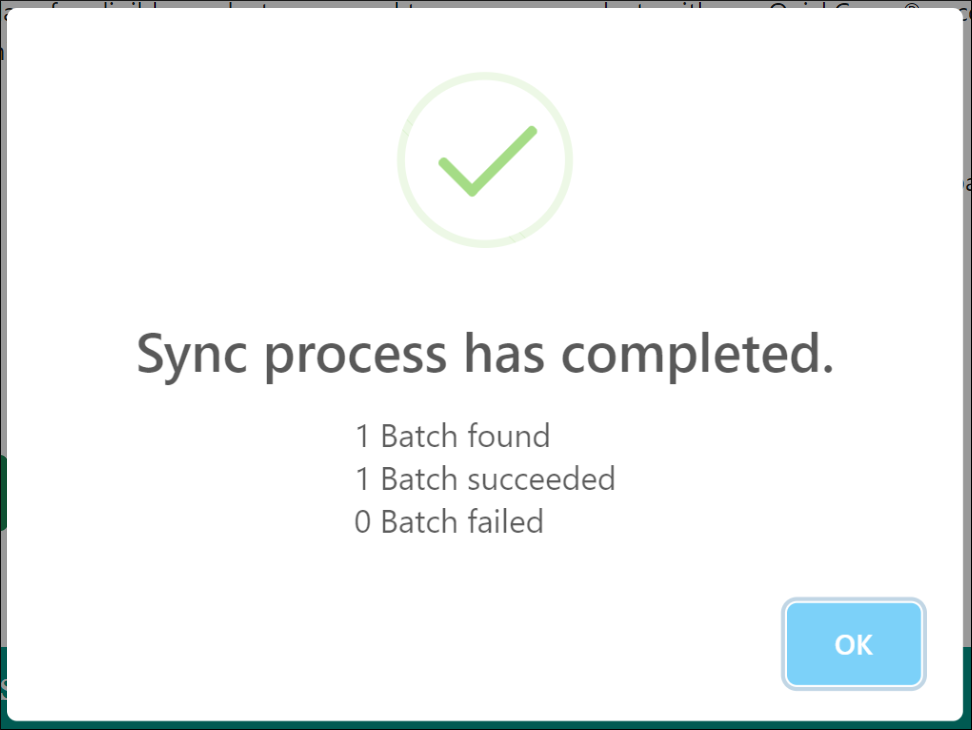
- Wait for the sync job to finish.
- Click OK in the confirmation pop-up.

As batches are processed, you will see statistics populate:
- Total Batch indicates the number of batches that you are attempting to sync.
- Success Batch indicates the number of batches synced to your QuickCover® account during the process. The products are available for category mapping in QuickCover®.
- Failed Batch indicates the number of batches that failed to sync. To learn more, read the FAQ topic What if the product sync failed?
# Confirm the sync was successful
To confirm that the product sync succeeded:
- In Shopify:
- In the Shopify menu, click Catalog to view your products.
- QuickCover Sync column should show 'Synced' for the products that have been synced.
- In your QuickCover® account:
- In the left-side navigation menu, expand Product Category Mapping
- Click Job Status.
- Click the sync job in the list to open the Job Status Detail page.
# Update category mappings
After a successful product sync, log in to QuickCover and update category mappings:
- If you sync products from a new collection, map them to a new category.
- If you sync products from existing collections, assign each product to an existing category
# Removing Products from the Protection Plan
If you want to stop selling plans for a product, QuickCover® needs to be disabled and unsynced for the product:
- In your Shopify account menu, click After Product Protection Plan under Apps.
- In the QuickCover® menu, click Catalog.
- Select the products you want to disassociate by checking the boxes in the left column.
- Select Desync in the Change QuickCover Sync drop-down.
- Select Disable in the Change Eligible for QuickCover drop-down.

- Click Update.
# Deleting Products from the Catalog
When deleting products from your store catalog:
- Remove the products from the protection plan.
- Delete the products from your Shopify store.
